Wednesday, May 13, 2009

final lighting project


community area

kitchen/dining

kitchen/dining


9:30 am


1:30 pm


6:30 pm

sketch series 5


Thursday, April 2, 2009

Wednesday, March 18, 2009

light series 3...


Here the fabric is located on my coffee table with sunlight shinning on it. This softens the colors and picks up the sheen within the fabric.

This is on the stove in my kitchen. As you can see, the fabric appears darker. Fluorescent light is used in this space.

This was taken in my bathroom. There are three 60 watt lamps in this space. This a fairly bright space and the light is directed strictly for over the sink tasks. Here the fabrics look bright and rich. Laying on granite, there is a reflection of the lights above.

On the 'wood' background the red seems to blend in more so. Overhead, there is a wood veneer lamp. Its slight glow added a warmer tone to the fabric.

Same table as before just not on the white sweatshirt. The colors do change somewhat. It is still warm but a little brighter than before. The sheen from the fabric is picked up more in this picture. Obviously with a blue background red and yellow show up more.

This picture was taken in the back if the store in Pacsun. The fabric is laid on a white sweatshirt that is laying in a blue table in front of the back wall. They have track lighting pointed towards the back wall with a few pointed to random areas. There are two other light sources that hang lower. They give a slight glow but very little light. The fabric looks warmer in this specific location within the space.

Located on the shelf of Harris Teeter. Here you can see how vibrant the colors look. The fabric has a sheen to it which the light really picks up in this space.

In Harris Teeter, fluorescent lighting is used. Fluorescent lights make colors seem more vibrant. They also make things seem more clear and easier to see.

lighting series 2...


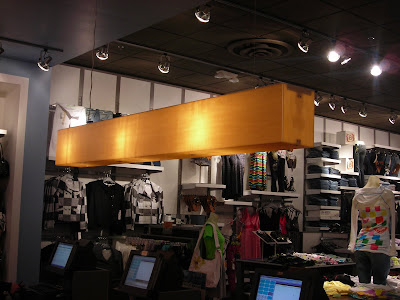
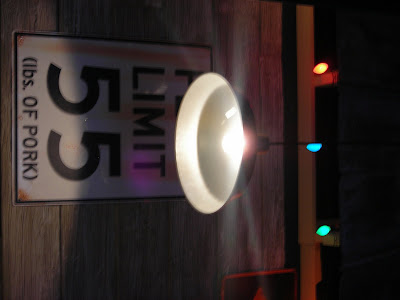
This fixture is located over the register area. Made from wood veneer as well and serves purely for accents lighting, however, these two lamps make the space.

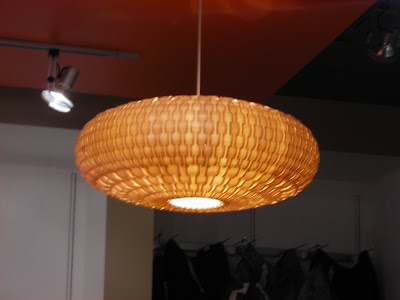
This fixture is located towards the back of the store. There is two and they made from a (i believe) wood veneer material. They give a slight glow to the close surroundings. However, they are more for accent lighting than functionality.

Pacsun is a retail store located at Four Seasons Mall (as well as many other malls). I have worked there for almost a year now so I have seen first hand how they position lights and what type of lighting is used. Track lighting is the main lighting (so do many retail stores) to direct light on certain places, items, any where they feel light needs to be. Pacsun shines light on products that are new and best sellers (usually placed on the wall). The light like "showcases" the product much like an art piece in a gallery (Weatherspoon for instance). The only issue with these lamps is they produce a large amount of heat and are somewhat bright. Most of the track lighting is directed towards the product on the wall.


The two above pictures show the main types of lighting. Direct lighting above and above that is recessed lighting with wall washing. The direct lighting is used over the booths for a brighter look. recessed is located throughout the restaurant. They provide a great amount of light and make the space feel bigger.

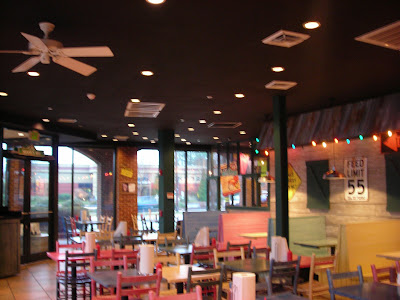
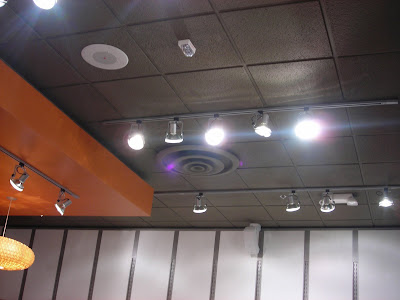
Here you can see light recessed on the black ceiling. These seemed to be randomly placed throughout, giving an even amount of light in the space. Lots of windows to provide natural light.

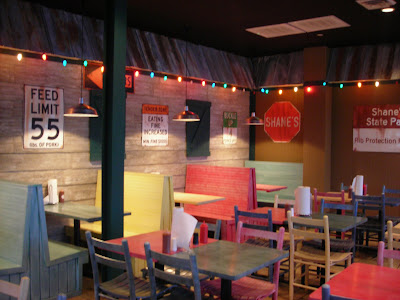
In Shane's Rib Shack, direct task lighting is located over the booths. They are fairly bright bit not too bright to disrupt the task being performed. The colored 'Christmas' lights serve no purpose other than decoration or accent lighting.

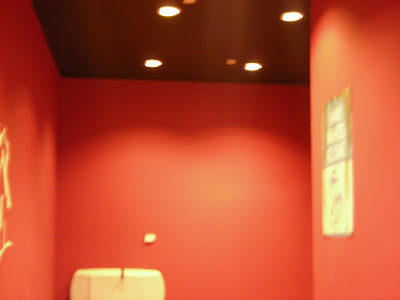
This is an interior window. The light that enters through this window is coming from the hallway lights and exterior windows. This window really opens up the gallery allowing some different lighting. However, it is not too bright like sunlight.

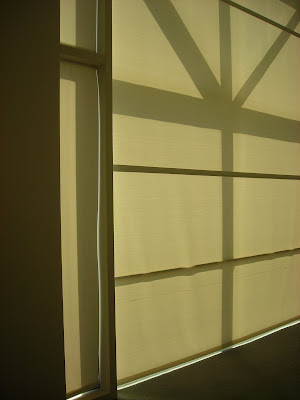
This is an exterior window with a shade pulled down to reduce the amount of sunlight within the space. Having the shade pulled down creates a glow, nothing direct.

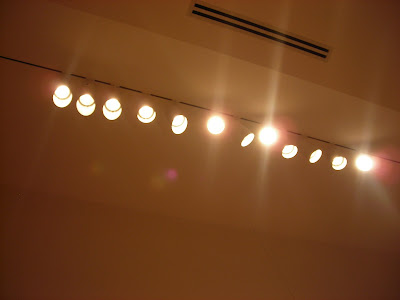
In this picture, accent lighting is clearly noticed. Each light goes to a specific piece of art. It not only brighten the art but creates a glow around the art. This too serves as a frame for the artwork.

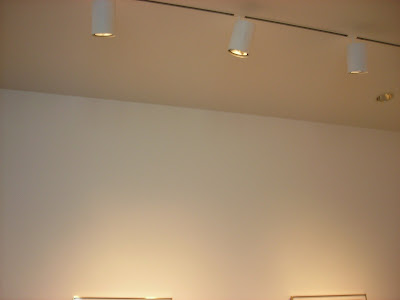
This is a closer view of the track lighting in the space. As you can see, they are distinctly placed according to the art piece. the lighting specialist (which they have) must take into consideration the size of the art, colors, materials, how it is viewed and many other factors.

The illumination in the art museum was done nicely. Each art piece had a selected amount lamps that were specifically directed on it. This made viewing the art pieces much easier. With high volted ceilings, the track lighting puts a nice glow on the walls as well as the art. One issue i noticed was how hot the lights were. Could that be harmful to the art?

inspirational lighting...


The shadow is obviously what makes this picture so amazing. The repetition of the light and shadow creates a 'flower' effect. The curves give the feeling of twirling and intertwining. I am going to have to try to find more information and pictures of this lamp. I am curious as to how those shadows are created.

This picture caught me eye for several reasons. One being how dominant the color blue is, which is my favorite color. The shape of the lights creates an interesting form. The blue lights create a unique glow to form a path through this garden. The lights guide you through the space.

Monday, February 9, 2009

kaleidoscope light model

In this exercise, we created an interior space that would function as a night club. In this space we played with lighting to create a pattern and texture on the walls around the space. We placed a large diamond on top of a red transparent tube. We then used an LED light to shine from within the tube projecting through the diamond. We did this same thing with three other small diamonds and blue transparent tubes with tea lights. We varied the heights of all the tubes to see what this effect would have. We discovered that the light shining through the diamonds created a kaleidoscope type pattern along the walls, but mainly the ceiling. The blue and red tubes combine to make a magenta tint along the walls. We folded paper in the corner along the back wall with a tea light placed behind it to help create texture. The colors from the tube mixed with the tea light behind the paper mix to create an orange glow.